Windows 10 reached its official End of Support on October 14, 2025, meaning Microsoft no longer provides security updates, patches, feature improvements, or technical assistance for the operating system. As a result, many users have already upgraded to Windows 11 or are in the process of doing so. However, Windows 11 ships with several default settings that may concern privacy‑minded users. In this article, I present a checklist for many of these options, explain their intended functions, and show how to disable them to harden Windows 11 and improve your privacy.
TELEMETRY AND DIAGNOSTIC DATA
Some of the most intrusive functions are the telemetry “features.” In Windows 11, this is now called Diagnostic Data. This controls how much diagnostic data is sent to Microsoft. The concern is with the “Optional diagnostic data” function, which, if enabled, includes data about app usages, browsing history (from Edge), and device health. For a hardened Windows 11 system, my recommendation is to disable optional diagnostic data.
To do that, press Win + I to open Settings. Then go to Privacy & security > Diagnostics & feedback > Diagnostic data, and set “Send optional diagnostic data” to Off.

For even stronger enforcement, I also recommend disabling telemetry via Group Policy by pressing Win + R, typing gpedit.msc, and pressing enter.
In the Local Group Policy Editor, navigate to Computer Configuration > Administrative Templates > Windows Components > Data Collection and Preview Builds, click on “Allow Diagnostic Data,” change the setting to Disabled and click OK. This will force the system to send only the minimum required diagnostic data.

While you are there, you might also consider disabling “Allow device name to be sent in Windows diagnostic data.”
When enabled, this policy allows Windows to include your computer name (for example, John‑Laptop or Home‑PC) in the diagnostic data that gets sent to Microsoft. The device name is essentially the label you gave the machine, and while it may seem harmless, it can sometimes inadvertently reveal sensitive information.

There is also a telemetry service that runs continuously in the background by default, which transmits diagnostic data to Microsoft. My recommendation for both privacy, and for potentially improved performance, is to disable this service. To do so, press Win + R, type services.msc, and press enter. In the services window, look for the service called “Connected User Experiences and Telemetry.” Click the service, and on the pop-up window, click Stop. Then in the “Startup type” drop-down, select “Disabled” and click OK.

ADDITIONAL FEATURES FOR CONSIDERATION
Some additional features you may want to review include Feedback Frequency, View Diagnostic Data, Personalized Offers, Show Notifications in Settings, Recommendations and Offers in Settings, Advertising ID, Presence Sensing, Location Services, Online Speech Recognition, Inking and Typing Personalization, OneDrive integration, Clipboard History, File Explorer Quick Access, and app permissions for such items as Camera, Microphone, Contacts, Calendar, Call History, and Email.
Many of these are enabled by default, while others depend on your device and setup choices. You may not want to disable them entirely if you rely on the functionality, but it’s worth understanding what each does and adjusting them according to your privacy needs. In the sections below, I will discuss each of these components so you can make an informed decision.
Feedback Frequency
The Feedback frequency setting controls how often Windows prompts you to provide feedback through the Feedback Hub. By default, Windows may periodically display notifications asking you to rate your experience, report issues, or suggest improvements.
By disabling this option, you will reduce interruptions (it prevents those pesky feedback prompts from popping up), limit data sharing (when you respond to feedback requests, your input is sent to Microsoft along with contextual diagnostic data. Even if you don’t respond, the prompts are tied to telemetry mechanisms), minimize background activity (disabling feedback requests reduces the number of background triggers that check for when to prompt you), and avoid accidental disclosure (feedback submissions can include screenshots, system details, or descriptions of issues that may contain sensitive information).
To disable, go to Settings > Privacy & security > Diagnostics & feedback, and set “Feedback frequency” to “Never.”

View Diagnostic Data/Delete Diagnostic Data
View diagnostic data will allow you to see data Microsoft has collected already. You can take a look, but then I recommend turning that option off followed by deleting the existing data.
You can do this by going to Settings > Privacy & security > Diagnostics & feedback > set “View diagnostic data” to Off, expand “Delete diagnostic data” and click Delete.

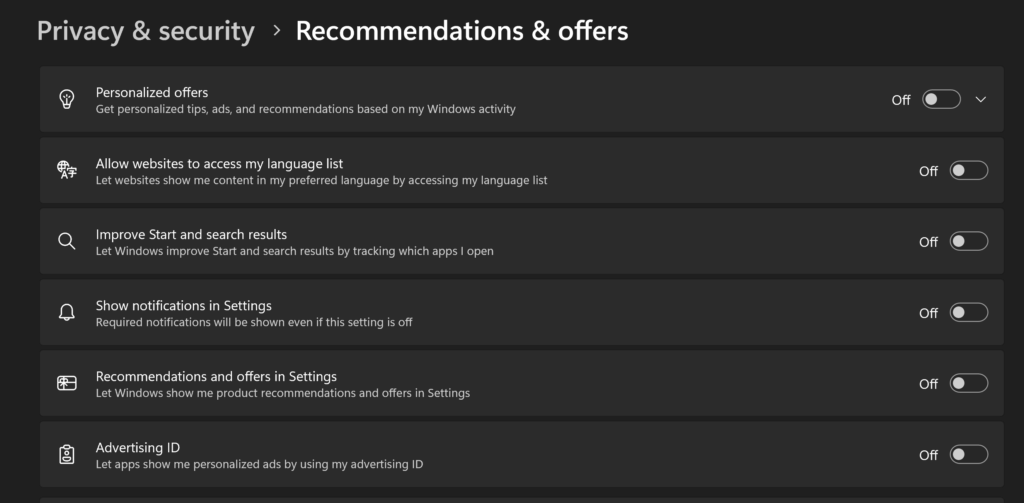
Recommendations & Offers
This option shows suggested content, tips, and promotions in Settings and Start. The concern is that it uses account and usage data to push ads and recommendations.
If you don’t want that, go to Settings > Privacy & security > Recommendations & offers, and set “Personalized offers,” “Show notifications in Settings,” “Recommendations and offers in Settings,” and “Advertising ID” all to Off.
You might also consider turning off “Allow websites to access my language list” and “Improve Start and search results” while you are there.
The language list option sends data about your preferred language to websites you visit.
When “Improve Start and search results” is enabled, anything you type into the Windows search box may be logged and sent to Microsoft, including app names, file names, or even personal keywords. Usage patterns, such as data about which apps you launch and how often you launch them can reveal personal habits, work routines, or sensitive software usage.
Presence Sensing
Presence sensing in Windows 11 uses built‑in proximity sensors to detect when you’re near or away from your computer. It can automatically lock your device when you leave and wake it when you return.
That said, it works by relying on hardware sensors (infrared, radar, or camera‑based) that constantly detect movement or proximity. This means your computer is always “watching” for you. Sensor data is processed by Windows, and apps with permission can access it.
This can be disabled by going to Settings > Privacy & security > Presence sensing, and switching “Presence Sensing access” to Off.

Location
This option continuously tracks the geolocation of your machine when it is enabled. You have some options here. You can either turn Location off completely or you can set which apps have location permissions.
To do either one, go to Settings > Privacy & security > Location, and make your selections from there.

Speech
When “Online speech recognition” is enabled, Windows sends your spoken input (voice commands, dictation, or speech used in apps) to Microsoft’s cloud‑based speech recognition service, and stores it there.
To disable this, go to Settings > Privacy & security > Speech, and set “Online speech recognition” to Off.

Inking & Typing Personalization
Even though the personalization data for this setting is primarily local, it involves analyzing what you type or write, which may include sensitive words, names, or phrases. There is risk of potential sharing with Microsoft if diagnostic data is enabled, and samples or metadata about your typing/inking habits can be transmitted to Microsoft for use with language models.
To disable this, go to Settings > Privacy & security > Inking & typing personalization, and set “Customize inking and typing dictionary” to Off.

Windows Backup in the Cloud
There are a few pieces to this to consider. First, it is indeed a good idea to back up your data on some kind of storage other than your local machine. If a hard drive crashes, or there is some other kind of failure, or your machine is lost or stolen, having a backup can prevent complete data loss.
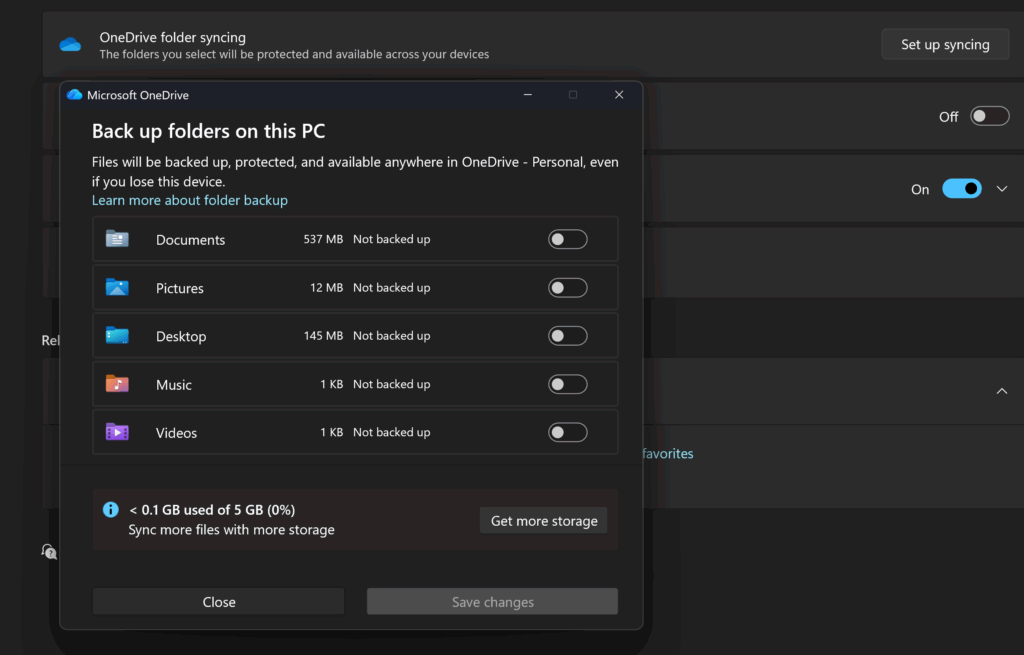
In Windows 11, Microsoft pushes syncing your local backups to OneDrive (which is attached to your online Microsoft account). This might work for some. If you do go with that option, I recommend looking over the preferences to confirm what folders are being sent to the cloud and how often that is happening.
You can do this by pressing Win + I to open Settings, going to Accounts > Windows Backup. Then under OneDrive folder syncing, click “Set up syncing.” Review the list of folders (Desktop, Documents, Pictures, etc.) that are being backed up. Toggle off any folders you don’t want synced, or adjust the settings to fit your needs.
Additionally, if you are relying on the cloud to store backups of your personal data, I recommend hardening the security of your online Microsoft account by enabling two-factor authentication. This adds a level of protection that makes it much more difficult for hackers to access your account and expose all of your data.
You can do this by opening a browser and going to the Microsoft Account Security page. Then, sign in with your Microsoft account credentials. Click on “Manage how I sign in.” Then, under “Additional security options” look for “Two‑step verification.” Click “Turn on” and follow the prompts. Then, choose your preferred second factor (authenticator app, text message, or email), complete the setup and confirm it works by signing out and back in.
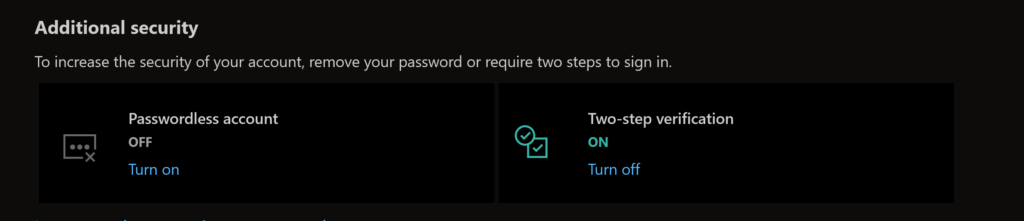
The “Passwordless account” option is for methods such as using biometrics (facial recognition, fingerprint reader, etc.) or using physical security keys (like YubiKey). Personally, I’m not a big fan of biometrics, because, in order for those systems to work, they have to store Personally Identifiable Information (PII), which if it was compromised feels like it would be more of a risk. For example, digital copies of your fingerprints falling into the wrong hands. Two-factor authentication offers a fairly reliable layer of protection. You have to do your own risk-benefit analysis to decide what works best for you.
If you are not crazy about the idea of your data being sent to Microsoft’s cloud, there are alternative backup methods you might want to consider, such as using an external hard drive or a USB flash drive. You can periodically do this manually, or you can automate the process.
To automate it, connect your USB flash drive or external hard drive. Press Win + R, type “control” and press enter to open Control Panel. Go to System and Security > File History. Click “Turn on” to enable automatic backups to the external drive. Use “Advanced settings” to adjust how often backups run (default is every hour) and how long versions are kept.
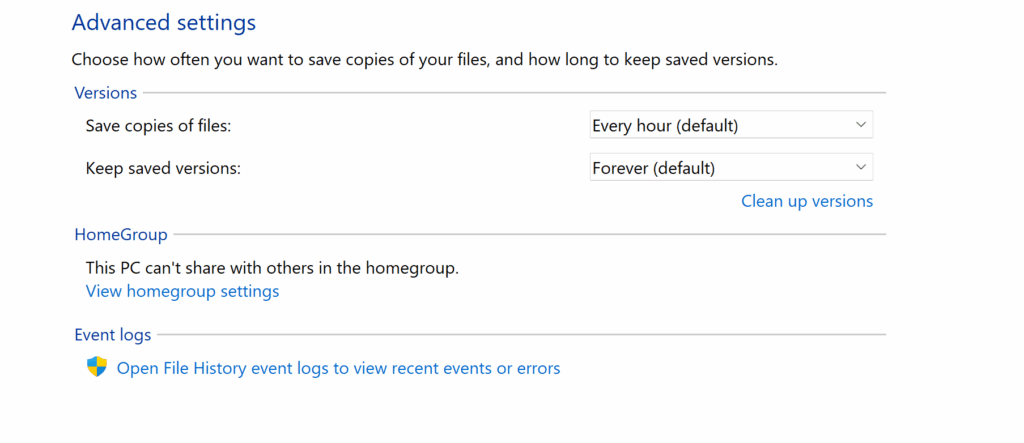
The benefit of this option is that nothing is being sent into the cloud. On the other hand, if you lose the USB flash drive or other storage device, you’ve lost your backups. Additionally, if they are stolen, unless you have encrypted the contents, whoever has the physical storage device can access your data. But if you maintain physical security of the backup drives, this might be a better option than relying on a third party like Microsoft to protect your data (and not be snooping in it themselves). I’m not a lawyer, so you’ll have to read their privacy policies to verify how data kept in OneDrive in the cloud in your online Microsoft account is protected, and if it is shared with organizations or entities outside of Microsoft.
A couple of other minor options you can disable if you decide to:
Clipboard History
Clipboard history allows Windows to store multiple items you’ve copied (text, images, links, etc.) so you can reuse them later. Instead of only remembering the last item copied, Windows can keep a running list that you can access with Win + V. This might be handy, however, sensitive data such as passwords, financial information, or private messages can remain in the clipboard history long after you’ve pasted them. If someone else has access to your computer, they could open the clipboard history and see what you’ve copied.
To disable this so that only the very last item copied is in your clipboard, go to Settings > System > Clipboard, and toggle Clipboard history to Off.

Notice there is also an option to Clear clipboard data on that same screen. That will wipe whatever is currently in the clipboard memory.
File Explorer/Quick Access
Quick Access in File Explorer shows your recently used files and frequently used folders at the top of the navigation pane. It’s designed to make it faster to reopen items you use often. This might be fine, but it effectively creates a visible record of your activity. Anyone opening File Explorer can immediately see which files and folders you’ve been working with.
If you would prefer that not to be the case, you can disable this by going to File Explorer, clicking on the ellipsis menu (the three dots) > Options > General tab. Then under Privacy, uncheck “Show recently used files in Quick Access” and “Show frequently used folders in Quick Access.”
You can also click “Clear” next to “Clear File Explorer history” if you want to wipe existing entries.

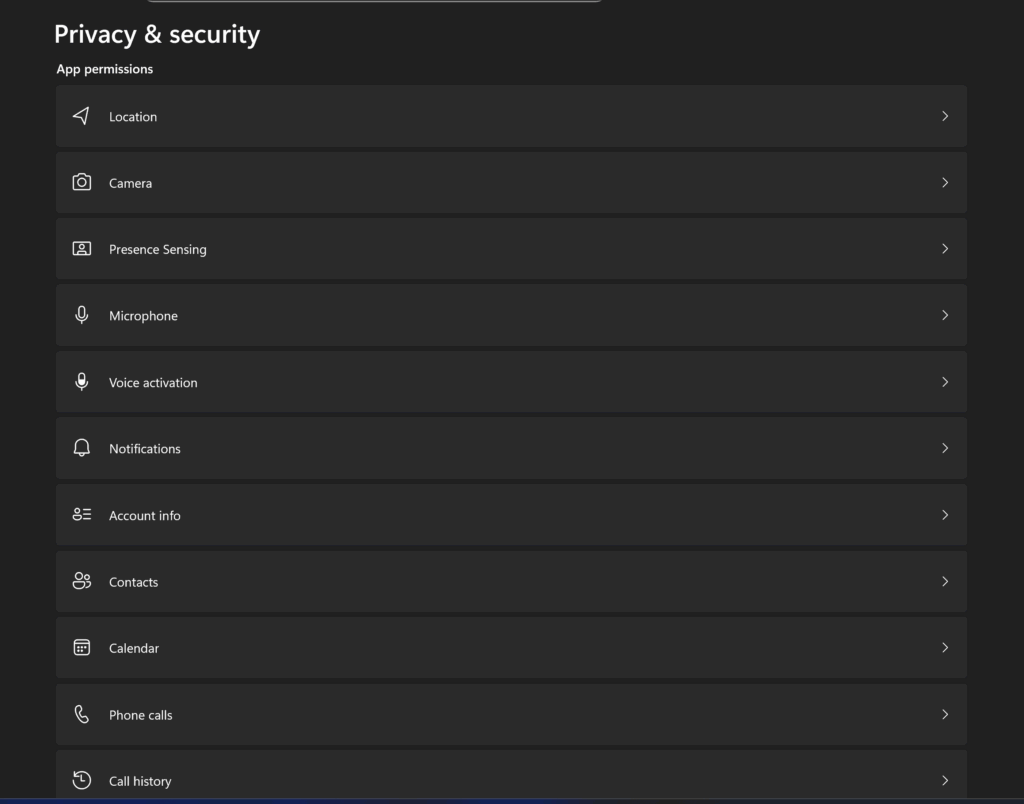
EVEN MORE APPS
Lastly, it is just generally a good idea to review permissions for individual applications and devices such as Camera, Microphone, Contacts, Calendar, Phone Calls, Email, etc. I won’t go over the specific options here as they are mostly self-explanatory.
To access these permissions, go to Settings > Privacy & security, then choose the individual category you want to review and adjust your settings as desired.